
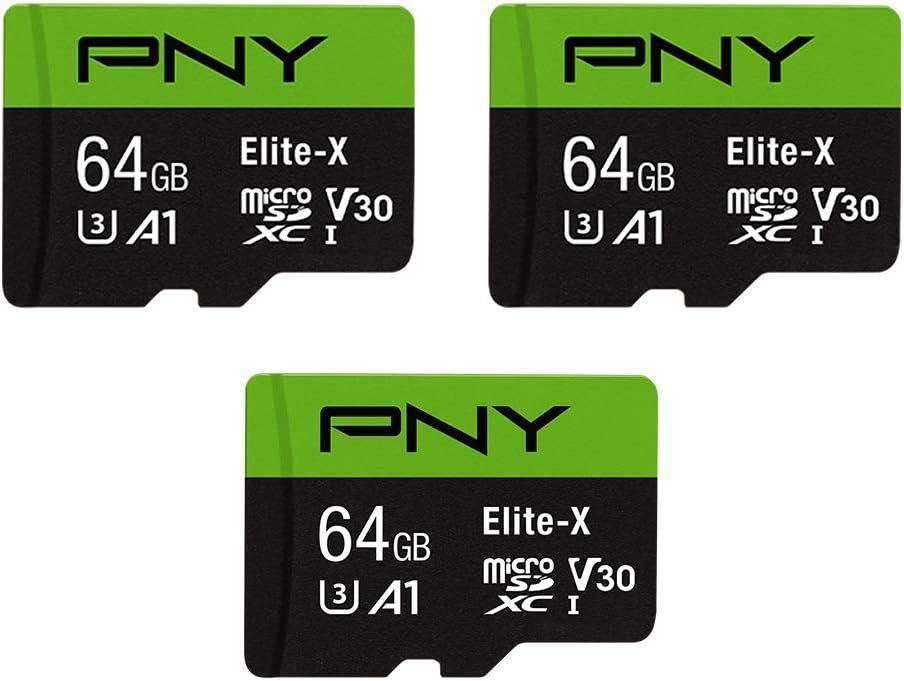
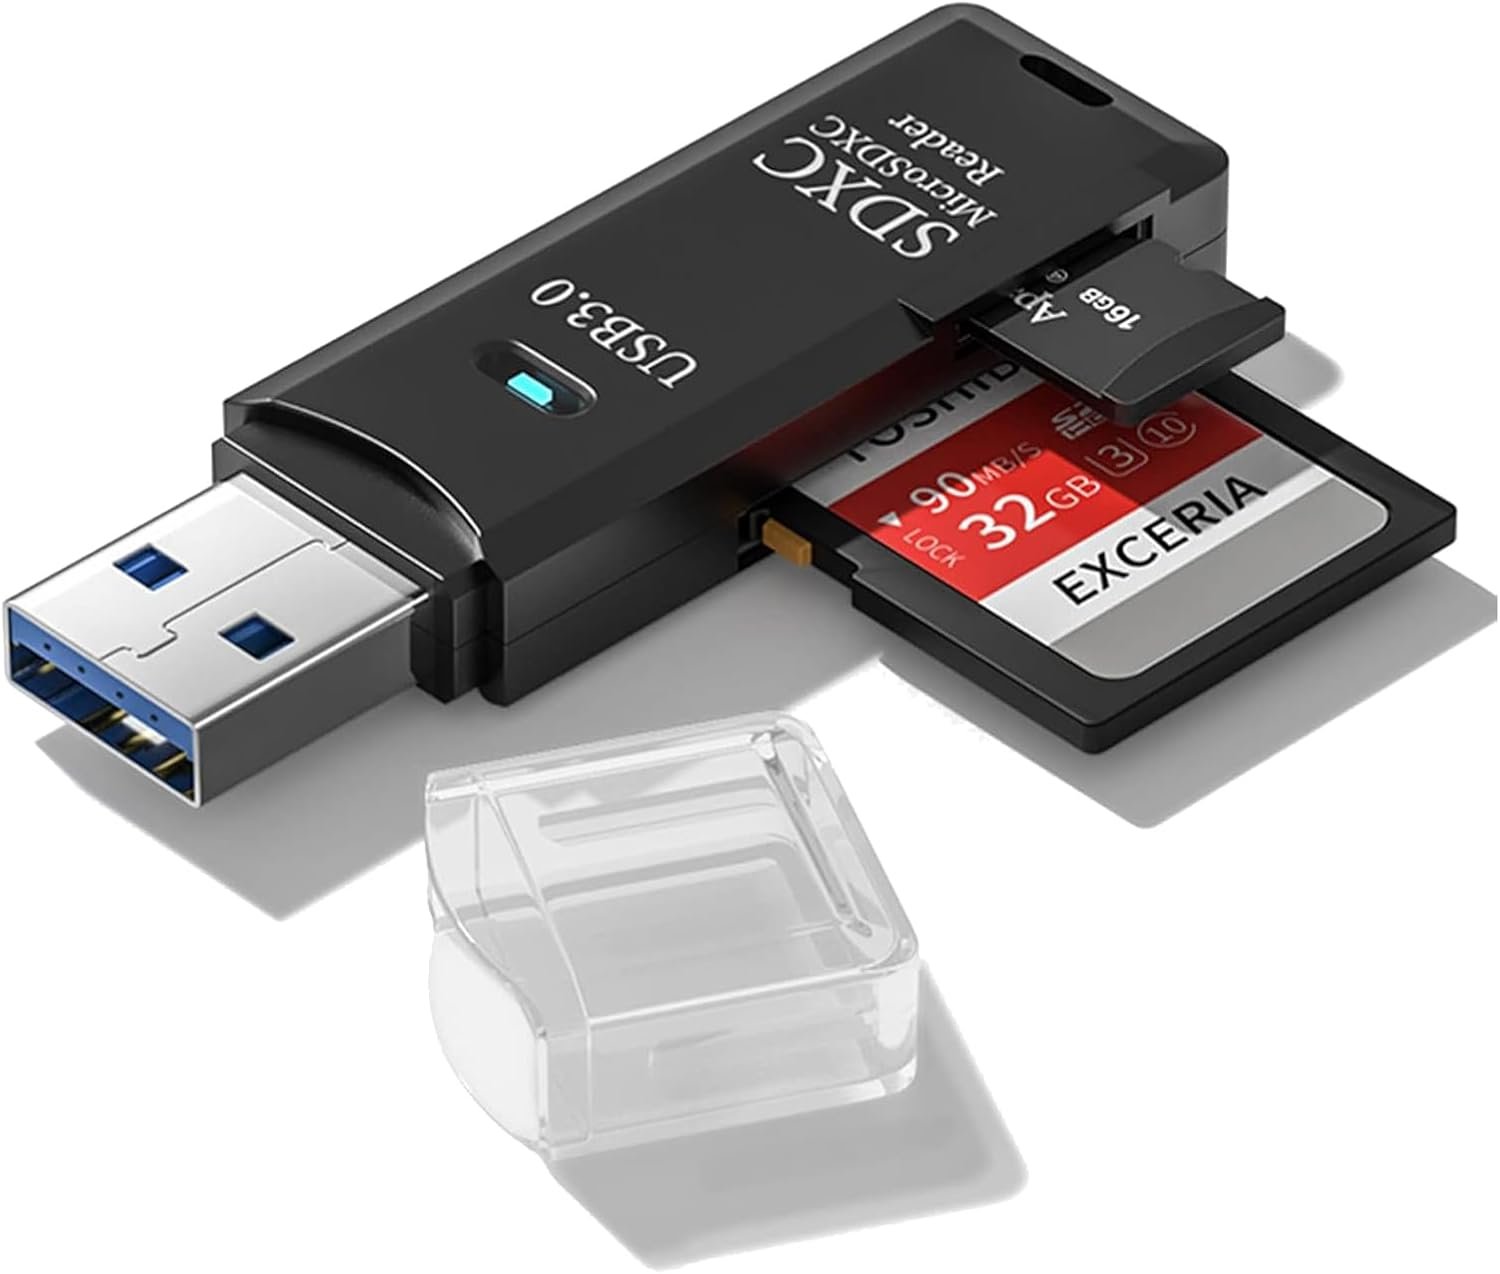
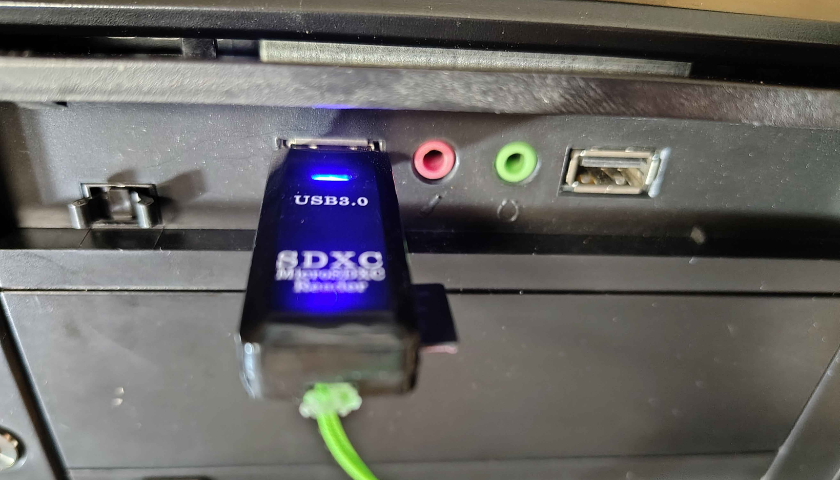
Place your MicroSD card into your USB card reader and plug it into your PC or Mac. Windows will likely try to open a folder or ask you to format the card — close or cancel any prompts that appear. You do not need to format it first.
Launch Balena Etcher on your computer. You'll see three steps across the screen: Flash from file, Select target, and Flash. You'll work through them left to right.
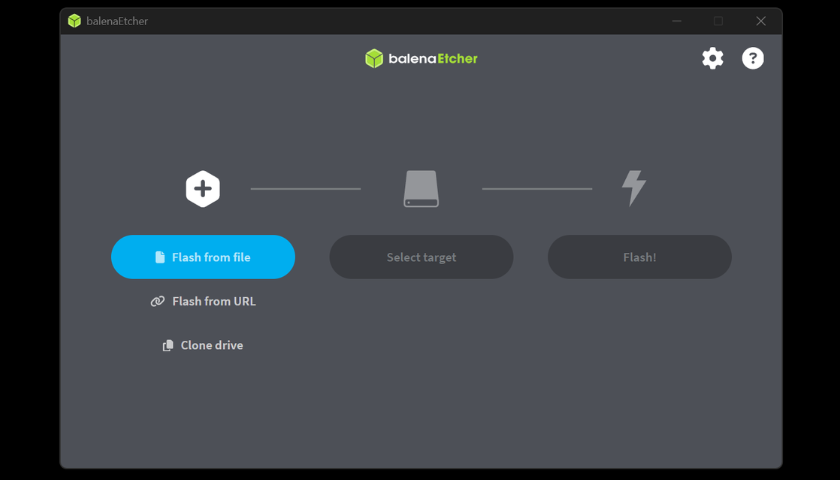
Click "Flash from file". A file browser will open — navigate to wherever you downloaded the Bobcat 300 SN:28 image and select the piloader-bobcat-280-flasher.img.gz file — the one you just downloaded. Balena Etcher unpacks it for you, so there's no need to extract it yourself. Click Open.
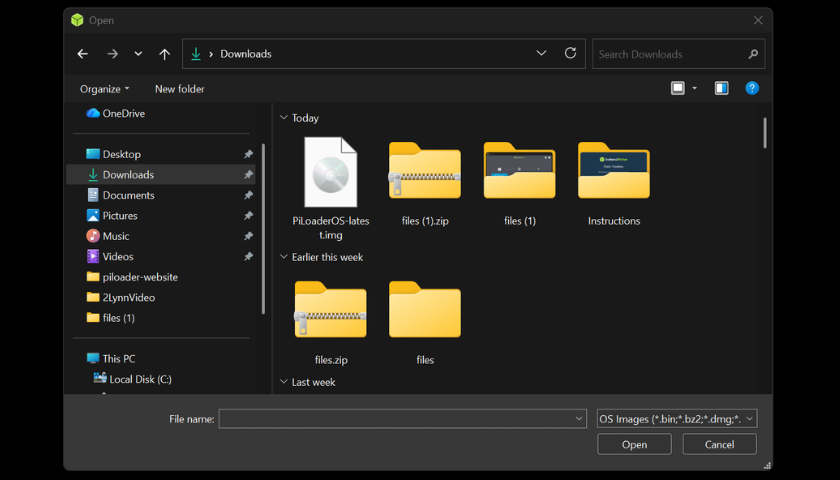
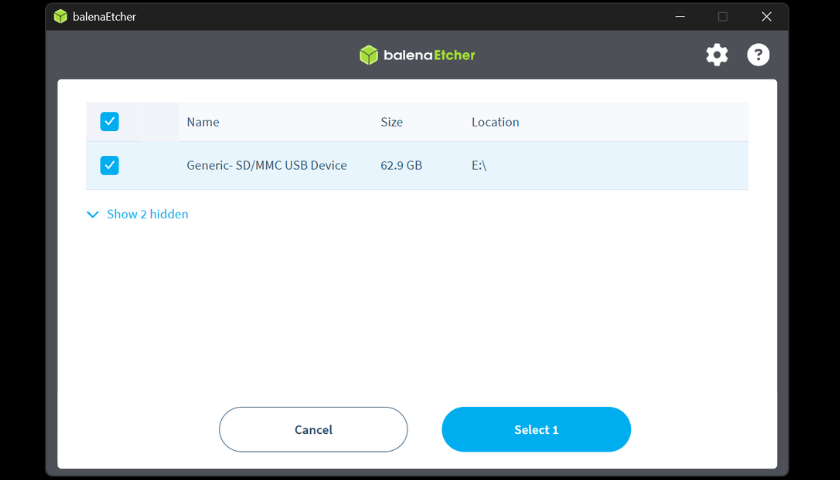
Click "Select target". A list of drives will appear. Select your MicroSD card from the list — it will show the card's storage size. Double-check you're selecting the SD card and not your PC's hard drive.
Important: Selecting the wrong drive will overwrite it. Your SD card will typically show as a smaller removable drive (8GB, 32GB, or 64GB).
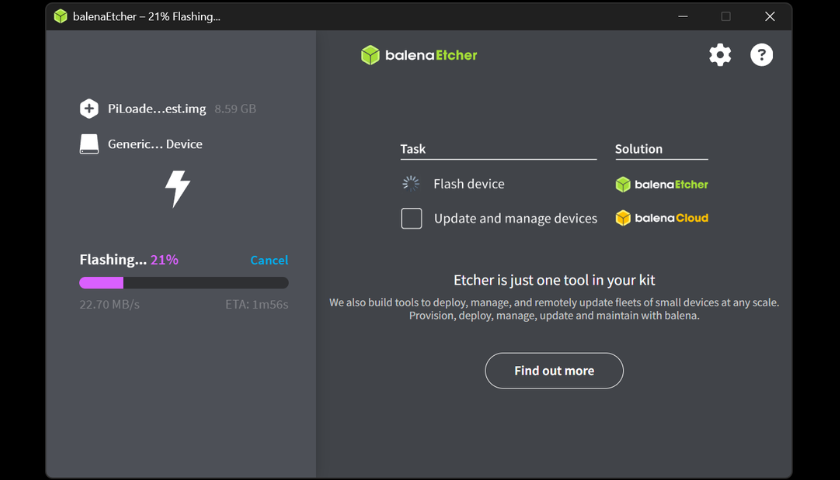
Click "Flash!" and let it run. Balena Etcher will write the image to your card and then automatically verify it. This usually takes 5–10 minutes depending on your card reader and computer speed. Don't remove the card while it's running.
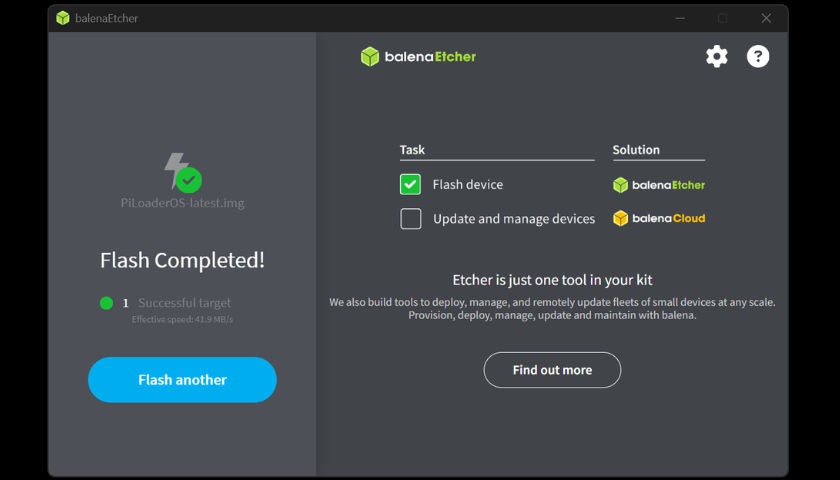
Once Balena Etcher shows "Flash Complete!", close the application. Safely eject and remove the MicroSD card from your reader. Your installer card is now ready to go.
With your Bobcat 300 SN:28 powered off and unplugged, insert the freshly flashed MicroSD card into the SD card slot on the back panel of the miner. Push it in until it clicks and is fully seated.
Tip: The SD slot is on the back of the Bobcat 300 SN:28 — you do not need to open the case for this model.
SD card slot on the back panel of the Bobcat 300 SN:28
Plug in the power cable to turn the Bobcat on. With the installer card inserted, the miner automatically begins flashing PiLoader OS to its internal storage. This takes about 5 minutes. Watch the front LED to follow along:
Do not unplug the power during this step. Interrupting the install can leave the miner without a working operating system.
Bobcat 300 SN:28 front LED showing solid blue while flashing
Once the LED is solid blue and the install is finished, unplug the power, remove the MicroSD card from the back panel, and plug the power back in. The Bobcat will now boot PiLoader OS from its own internal storage. First boot takes about 60–90 seconds.
Keep the installer SD card somewhere safe — you can reuse it to reinstall PiLoader OS on this or another Bobcat 300 SN:28 at any time.
Removing the installer SD card from the Bobcat 300 SN:28
On any device connected to your home network, open a browser and go to piloader.local. This opens your PiLoader OS dashboard directly — no IP address needed. Bookmark it for easy access going forward.
Use piloader.local — don't type https:// in front of an IP address. A secure (https) connection to a raw IP won't load; it's only set up to work with the piloader.local name.
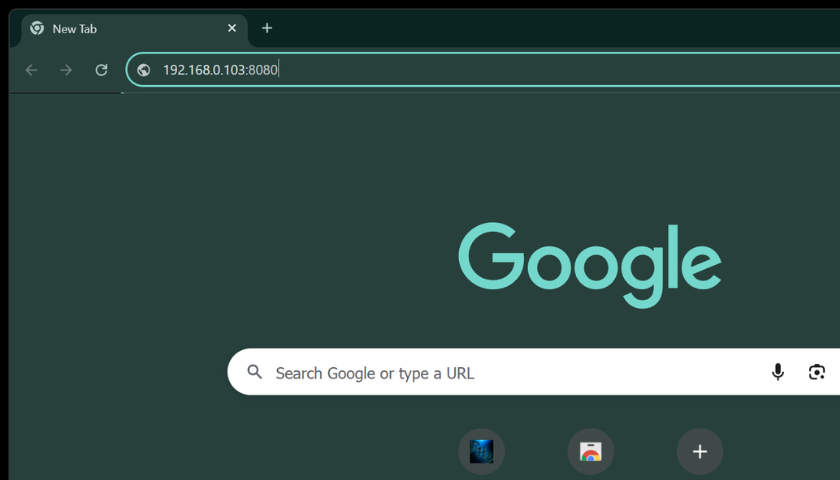
If piloader.local doesn't load on your network, open Advanced IP Scanner, click Scan, and find the device named "piloader". Then browse to that IP address followed by :8080 — for example 192.168.0.103:8080.
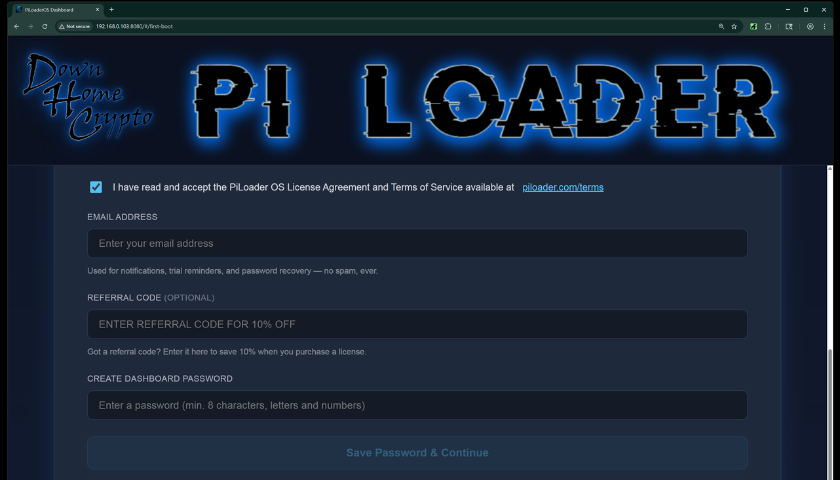
Read through the Terms and Conditions and accept them. Enter your email address — this is required for password recovery and license registration so make sure it's accurate. Choose a strong, unique password for your dashboard. Click "Save Password & Continue" to proceed.
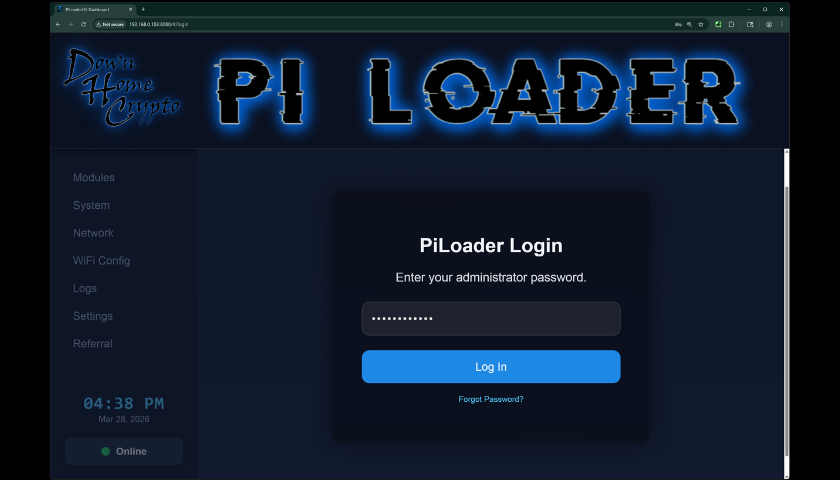
Enter the password you just set and click "Log In". Welcome to your PiLoader OS dashboard — this is your command center. From here you can install and manage your earning modules, monitor your hardware health, configure your network and WiFi settings, set your local time zone, and access everything PiLoader has to offer. You did the hard work — now let your Bobcat start earning for you.
You're Live!
Head to the Modules section in your dashboard and start enabling your earning apps. Enter your credentials, hit install, and PiLoader OS takes care of the rest. Good luck out there — and Happy Mining! 🎉
Join the PiLoader Discord community to stay up to date with the latest news, get help from fellow PiLoader miners, and share your mining adventure with people who get it.